
Views: 222 Author: Tina Publish Time: 2025-12-14 Origin: Site


Content Menu
● Understand Your Intex Ladder Type
● Safety Rules Before Assembly
● Tools, Parts, and Preparation
● Step 1: Assemble Side A Legs
● Step 2: Assemble Side B Legs
● Step 3: Install Step Anchor Sleeves
● Step 4: Insert and Lock the Steps
● Step 5: Attach the Support Base Assembly
● Step 6: Install the Top Platform
● Step 7: Connect the U‑Shaped Top Rails
● Step 8: Join Both Sides Into an A‑Frame
● Step 9: Position the Ladder by the Pool
● Step 10: Level and Stabilize the Base
● Step 11: Using Removable Safety Steps
● Step 12: Routine Inspection and Maintenance
● Extra Tips for Comfort and Safety
● OEM Pool Equipment and Ladder Integration
● FAQs About Setting Up an Intex Pool Ladder
>> 1. Do I need tools to assemble an Intex pool ladder?
>> 2. How do I know if my Intex ladder fits my pool?
>> 3. Why is my Intex ladder wobbly after installation?
>> 4. Should I remove the ladder when the pool is not in use?
>> 5. How often should I check bolts and steps on my ladder?
>> 6. Can I use an Intex ladder with another brand's above‑ground pool?
How to set up an Intex pool ladder correctly means following the Intex manual step by step, building the “A/B” side legs in the right order, locking each step into its anchor sleeves, and then positioning the assembled ladder on a level, solid base beside your pool wall. A final safety check—tightening all fasteners, testing every step, and positioning removable steps correctly—ensures safe use for kids and adults.[1][2][3][4]
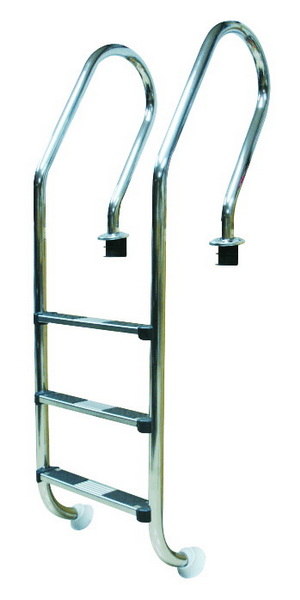
Intex offers different above‑ground pool ladders, including classic steel‑frame models and “deluxe” safety ladders with removable outside steps. Before starting, confirm your pool wall height (for example, 42 in, 48 in, or 52 in) and match it with the ladder model so the top platform sits level with the top rail.[2][5][6][7][8]
Intex manuals emphasize reading all safety warnings before assembly, especially for households with children or people with reduced mobility. Basic rules include never diving or jumping from the ladder, not swimming under or behind it, and always supervising children when climbing.[3][10][1]
Most Intex ladders snap together without power tools, but a small wrench or screwdriver can help tighten nuts and bolts on the platform and handrails. Lay all labeled parts on a flat surface—legs (A and B sides), steps, anchor sleeves, U‑shaped top rails, platform, clasps, and fasteners—and compare them to the illustration chart from the manual before starting.[4][1][2]
Start by assembling the “Side A” legs following the order in the Intex diagram, typically connecting lower J‑shaped legs, upper legs, platform interface, and U‑shaped top rail with the correct fasteners. Make sure the J‑shaped ends point in the directions shown in the manual so the legs will later align with the pool wall and ground.[4][2]
Repeat the process for the “Side B” legs, checking for markings such as “A” and “B” stamped or stickered on the tubes. The B side usually forms the outer portion of the A‑frame and must mirror the A side for correct balance and step alignment.[2][4]
Slide step anchor sleeves onto the lowest indent positions of the legs with arrows pointing upward, rotating them right or left to lock into the indent grooves. These sleeves are critical: they carry the step weight and keep each tread from popping out under load, so confirm each one is fully seated.[4][2]
Starting from the bottom, insert each molded step into the paired anchor sleeves on both sides and push firmly down until fully seated. Apply firm downward pressure on each tread after insertion; if a step can lift or rock, it is not properly anchored and must be reseated before continuing.[4][2]
Locate the U‑shaped support base assembly and slide it onto the two short vertical legs, making sure the indents rest on the lower horizontal rail. This base spreads the load on the ground, so it must sit flat and fully in contact with the surface, without rocking.[15][16][2]
Slide the top platform onto the upper legs, orienting it so the side with safety clasps faces away from the pool (for removable‑step models). Secure the platform using the specified screws, washers, and nuts, and only fully tighten all fasteners once the last assembly operation is done, as recommended by Intex.[2][4]
Attach the two U‑shaped top rails, sliding each open end over the legs that extend through the platform and securing them with screws and washers from the outside. These rails form the handholds and tie the A‑frame together, so verify they are fully inserted and evenly aligned before tightening.[4][2]
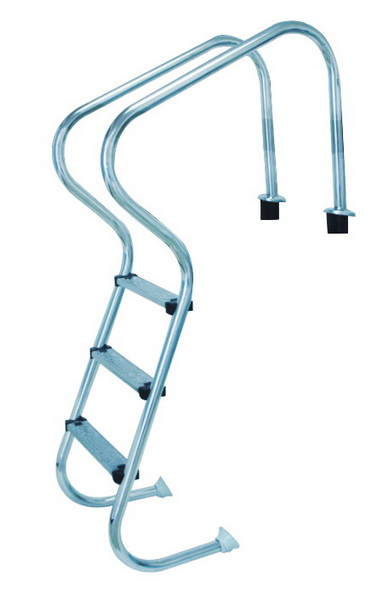
Slide the open ends of the other ladder assembly into the remaining sockets or rail ends, creating the full A‑frame above‑ground ladder. Once both sides are joined, tighten all screws, nuts, and bolts securely, then re‑check that every step, sleeve, and connection is solid.[1][2]
Place the ladder next to your Intex above‑ground pool so the inner legs sit inside the pool wall and the outer legs sit on firm, level ground. Avoid locations near support uprights or buttresses, and choose a spot visible from the house for better supervision.[17][15]
Check that all four feet touch the ground and pool floor evenly; shim low areas or level the surface if necessary. After leveling, push down on the ladder and gently shake it side‑to‑side; if you notice looseness, re‑tighten hardware and adjust the base until the movement stops.[16][15]
Many Intex safety ladders include an outside step section that can be removed when the pool is not in use. To secure the pool, open the clasps and press the release buttons to lift the removable step assembly, then re‑insert it into the storage openings so children cannot easily climb into the pool.[10][2]
Before each swim session, visually check that steps are not cracked, the sleeves are not loose, and all nuts and bolts remain tight. Periodically wash the ladder with mild soap and water to remove sunscreen, algae, or scale that could create slippery surfaces and reduce traction.[17][10][1]
To improve comfort, some pool owners add non‑slip step covers or grip tape compatible with wet environments. If your ground is soft or uneven, consider placing a plastic or concrete pad under the outside feet to prevent sinking and maintain ladder height relative to the pool wall.[18][16][17][15]
For brands and wholesalers, combining a properly sized Intex‑type ladder with premium sand filters, pumps, and LED lights creates complete pool kits that are easier to sell to end users. Coordinating colors, finishes, and packaging across ladders, filters, and accessories strengthens brand identity and improves the unboxing experience for international customers.
Setting up an Intex pool ladder is straightforward when you follow the manufacturer's sequence: assemble A and B sides, lock all steps into their anchor sleeves, install the platform and top rails, and only then move the complete ladder to the pool. A final focus on leveling, fastening, and using removable safety steps will keep the entrance safe for children and adults while extending the service life of both the ladder and the pool structure.[3][10][1][15][4][2]
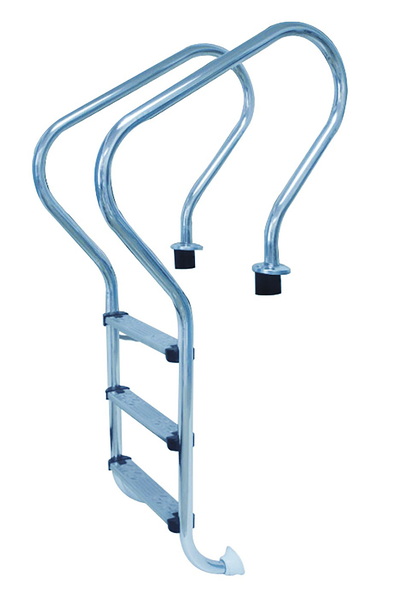
Most modern Intex pool ladders snap together using molded connections and supplied fasteners, so assembly usually requires only simple hand tools, if any. A small wrench or screwdriver is helpful for tightening nuts and bolts around the platform and handrails for long‑term stability.[13][4][2]
Check the ladder packaging or manual for the supported wall height (for example, 42 in, 48 in, or 52 in) and compare it with your pool's wall. The platform should sit level with or slightly above the top rail; if it is too low or too high, select a different height model.[5][6][7][17]
A ladder often feels unstable if it is on uneven ground or if the support base is not fully in contact with the surface. Re‑level the area, check all nuts and bolts, and verify that each step anchor sleeve is correctly locked onto the leg indents to remove wobble.[16][15][2]
Intex safety documents recommend removing or securing access when the pool is unattended to prevent unauthorized entry, especially by children. If your ladder has removable exterior steps, store that section out of reach whenever adults are not supervising the pool.[10][1][3][2]
Manufacturers advise checking all nuts, bolts, and steps regularly and before each use to ensure the ladder stays sturdy. A quick weekly inspection plus a more detailed monthly check during the season helps you catch wear, corrosion, or loosening hardware early.[1][10][2]
In many cases, yes, as long as the ladder height and wall design are compatible with the other pool, and local codes are respected. Always confirm that the ladder feet sit correctly on the pool floor and that the platform clears the top rail without stressing the wall.[17][18][15]
[1](https://www.intexsales.com/b2cmnl/B2CMNLServlet?instantiate=B2cMnldownloadApp&action=pub_mnl&filnam=330IO_A0_1805_EN.pdf)
[2](https://www.youtube.com/watch?v=br-93CL5yyM)
[3](https://www.intexdevelopment.com/support/downloadmnl?filename=331PO_R1_1912_EN.pdf)
[4](https://manuals.plus/m/ebe8f0a5e9e0f5094ad24eadbab1c1344ce790a408a10c9b8bec9e7a79b57948)
[5](https://intexcorp.com/products/above-ground-pools/pool-accessories/ladders/pool-ladder-for-42in-depth-pools-1/)
[6](https://intexcorp.com/products/above-ground-pools/pool-accessories/ladders/pool-ladder-for-52in-depth-pools-1/)
[7](https://intexcorp.com/products/above-ground-pools/pool-accessories/ladders/pool-ladder-for-48in-depth-pools-1/?bvstate=pg%3A2%2Fct%3Ar)
[8](https://intexcorp.com/products/above-ground-pools/pool-accessories/ladders/deluxe-pool-ladder-with-removable-steps-for-48in-depth-pools/)
[9](https://www.youtube.com/watch?v=puPDd5yuNRM)
[10](https://www.intex.co.il/sysvault/docsfiles2/cdbb1e6620-54e3-4677-9cad-a5df3f0d41bd.pdf)
[11](https://www.tiktok.com/@methodstothemadness/video/7508928961515408686)
[12](https://www.youtube.com/watch?v=BGmJGWkcXr8)
[13](https://www.youtube.com/watch?v=c0NyjUtAEb8)
[14](https://www.youtube.com/watch?v=bCJ1S1HCEtw)
[15](https://blog.watsons.com/blog/install-above-ground-pool-ladder)
[16](https://alohapoolsusa.com/wp-content/uploads/main-access-easy-incline-deck-ladder-1.pdf)
[17](https://blog.linerworld.com/2011/01/14/swimming-pool-ladder-installation/)
[18](https://www.poolkingfilter.com/how-to-install-pool-ladder.html)
[19](https://www.facebook.com/groups/637529959937311/posts/2579369582419996/)
[20](https://www.royalswimmingpools.com/NE1162manual.pdf)


